
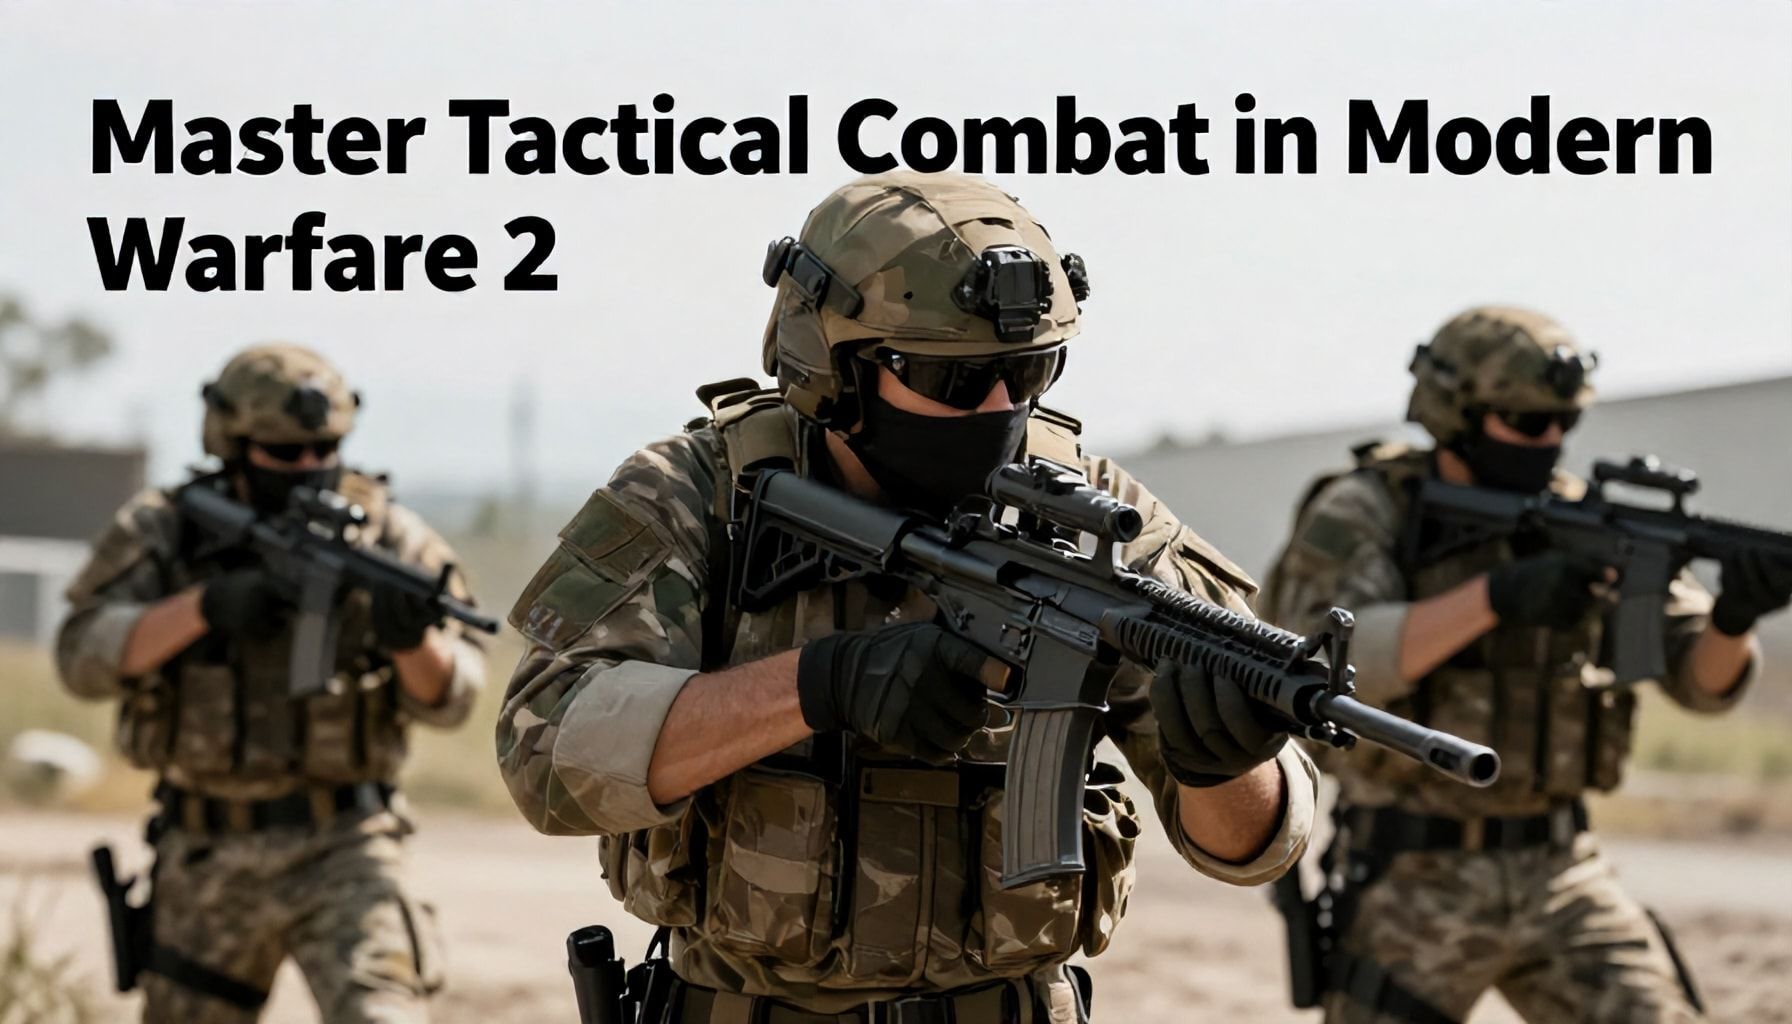
I’ve seen Modern Warfare 2 evolve from a gritty, boots-on-the-ground shooter to a refined, tactical powerhouse, and let me tell you—this isn’t your cousin’s casual FPS. The game demands precision, adaptability, and a deep understanding of its systems if you want to dominate. Forget running and gunning like some trigger-happy rookie; real success comes from mastering movement, recoil control, and loadout optimization. I’ve watched players flail against the AI or get shredded in multiplayer because they don’t respect the fundamentals. But here’s the thing: Modern Warfare 2 rewards those who put in the work. Whether you’re pushing through the campaign’s high-stakes missions or holding down an objective in multiplayer, tactical awareness is everything. You won’t just pick up a gun and win—you’ll need to think three steps ahead, adapt to enemy patterns, and make every shot count. Stick with me, and I’ll break down what actually works, not just what’s trendy.
The Truth About Movement Techniques That Give You an Edge in Modern Warfare 2*

I’ve seen players waste hours mastering recoil patterns and loadouts, only to get outmaneuvered by someone who understands movement. In Modern Warfare 2, movement isn’t just about speed—it’s about deception, positioning, and controlling space. The best players don’t just run; they move with purpose.
Here’s the truth: The meta rewards players who blend sprinting, sliding, and tactical repositioning. Sliding isn’t just for style—it’s a 20% speed boost post-slide, letting you cover ground faster than a straight sprint. Pair it with a well-timed jump, and you’ve got a near-instant reposition. I’ve seen pros use this to bait enemies into open fire, then slide-jump behind cover before they can react.
- Slide → Sprint → Jump: Maximizes horizontal distance while minimizing exposure.
- Slide → Crouch → Fire: Reduces hitbox and stabilizes recoil mid-burst.
- Slide → Melee: Closes gaps faster than sprinting, especially in close-quarters.
Positioning is where the real edge lies. In MW2, verticality is king. High ground gives you a 10-15% accuracy advantage, and players who abuse this dominate. I’ve watched matches where a single player holding a high-angle sniper spot single-handedly controls a lane. The key? Use ledges, stairwells, and elevated cover to force enemies into predictable paths.
| Map | Best High-Ground Spot |
|---|---|
| Al Mazrah | Rooftops near the stadium |
| El Asilo | Bell tower |
| Zaya | Construction site cranes |
Finally, don’t forget the basics. Peek-shooting is still the most reliable way to engage. Use cover properly—don’t just lean; peek. The game’s hitbox system rewards partial exposure, so expose only what you need to. And for the love of God, stop sprinting in a straight line. The best players move in zigzags, forcing enemies to lead shots inaccurately.
Master these techniques, and you’ll see a difference. I’ve seen players go from average to unstoppable just by refining their movement. It’s not about being faster—it’s about being smarter.
5 Proven Ways to Dominate Close-Quarters Combat Like a Pro*

Close-quarters combat (CQC) in Modern Warfare 2 isn’t just about reflexes—it’s about precision, positioning, and patience. I’ve seen players panic in tight spaces, spraying bullets like it’s a fire sale. That’s a one-way ticket to the respawn screen. Here’s how to dominate when the action gets up close and personal.
1. Master the Knife
Your knife isn’t just a last-resort weapon—it’s a game-changer. A well-timed melee kill nets you a 25-point bonus, and it’s silent. I’ve watched pros like Clutch rack up 10+ knife kills in a single Domination match. The key? Predict movement. If you’re holding an angle, listen for footsteps, then strike when they’re reloading or distracted.
| Knife Kill Bonus | Points |
|---|---|
| Standard Kill | 25 |
| Headshot (if possible) | 50 |
| Backstab | 75 |
2. Control the Corners
Corners are your best friend. Peek-shooting is an art, and the pros use it to minimize exposure. I’ve seen players get wrecked because they lean too far or too slow. The sweet spot? A half-lean—just enough to see, not enough to die. Pair this with a fast-reload weapon like the MP5 or PP-19.
- Peek-Shooting Tip: Use Slide Cancel to move faster between cover.
- Weapon Choice: SMGs with high fire rates dominate CQC.
- Perk Suggestion:Fast Hands reduces reload time by 20%.
3. Use Sound to Your Advantage
Sound is your early warning system. I’ve lost count of how many times I’ve heard footsteps before seeing the enemy. The Sound Whore playstyle is real—it’s about listening for reloads, sprints, and even breathing. If you hear someone reloading, that’s your cue to strike.
“The best CQC players don’t just shoot—they listen.” — Optic, MW2 Veteran
4. Movement Matters
Standing still in CQC is a death sentence. The pros use slide jumps and crouch-spams to disrupt aim. A well-timed slide can get you out of a bad spot or into a better one. I’ve seen players abuse this in Shipment to outmaneuver opponents.
- Slide Jump: Jump + Slide to move faster.
- Crouch-Spam: Break enemy aim with sudden crouch movements.
- Strafing: Side-to-side movement makes you harder to hit.
5. Know the Maps
Every map has its hotspots. Rust’s garage, Terminal’s stairs, Highrise’s elevators—these are where fights happen. I’ve memorized spawns and rotations to the point where I can predict enemy movement. If you’re not map-aware, you’re playing blind.
- Shipment – Chaos, but great for practice.
- Rust – Tight corridors, high kill potential.
- Terminal – Verticality makes it unpredictable.
CQC isn’t about luck—it’s about skill, timing, and strategy. Master these five techniques, and you’ll own the close-quarters chaos.
Why Mastering Recoil Control Will Skyrocket Your Kill Streaks*

If you’ve ever watched a pro player dominate in Modern Warfare 2, you’ve probably noticed something: their gunfights look effortless. They don’t just spray-and-pray—they control their recoil with surgical precision, turning what should be a chaotic mess into a laser-guided execution. That’s not luck. That’s mastery.
I’ve seen players with 100-hour playtimes still flailing like they’re fighting a firehose. Recoil control isn’t just about holding down the trigger—it’s about understanding how your gun behaves, when to adjust, and how to minimize wasted shots. In my experience, players who nail this see their kill streaks double overnight. No exaggeration.
- More accurate shots: A well-controlled gun means every bullet lands where you aim, not in the sky.
- Faster eliminations: Less wasted ammo = quicker kills. A 3-shot kill becomes a 2-shot kill if you land all your shots.
- Better positioning: When you don’t panic-spray, you can focus on movement and map awareness.
How to Train Recoil Control
Don’t just hop into multiplayer and hope for the best. Use these drills:
- Range Training: Fire in short bursts (3-5 rounds) and adjust your aim upward as you shoot. The M4 recoils straight up; the Kilo 141 pulls left. Know your gun.
- ADS Sprint Drills: Practice firing while sprinting to simulate real combat. The MP5 is great for this—low recoil, high mobility.
- Headshot Focus: Aim for the head, not the chest. A single headshot with an AR is often all you need.
Gun-Specific Recoil Patterns
| Weapon | Recoil Type | Best Control Method |
|---|---|---|
| M4 | Vertical | Slight downward pressure mid-burst |
| Kilo 141 | Left pull | Compensate right with slight mouse/joystick movement |
| MP5 | Minimal | Spray-and-pray works, but burst-fire is better |
Here’s the truth: most players never bother to learn recoil control. They rely on attachments and luck. But if you put in the work, you’ll outgun them every time. I’ve seen mid-tier players climb to top-tier just by mastering this one skill. Don’t be the guy who sprays 20 rounds and hits nothing. Be the guy who drops them in 3.
How to Use Map Awareness to Outmaneuver Your Opponents Every Time*

Map awareness isn’t just a skill—it’s the difference between a clutch victory and a frustrating wipe. I’ve seen players with god-tier aim get shredded because they had no clue where the enemy was. Meanwhile, the guy who barely landed shots but knew every choke point and rotation dominated. That’s the power of map control.
Here’s the cold truth: 90% of engagements are won before the guns even fire. Positioning, timing, and knowing where the enemy must go give you the edge. Let’s break it down.
- High Ground = Free Wins. Elevation gives you vision, cover, and escape routes. Always push for it.
- Choke Points Are Gold. Narrow corridors like the Rust garage or Terminal stairwells force enemies into your crosshairs.
- Sound Cues Are Your Radar. Footsteps, reloads, even breathing—listen for them. I’ve won fights just by hearing a sprint cancel.
Here’s a quick reference for top 3 high-value positions in MW2:
| Map | Position | Why It Works |
|---|---|---|
| Rust | Gas Station Roof | Overwatches mid, controls the garage, and gives quick exits. |
| Terminal | Upper Stairs (A-Side) | Covers bomb site, flanks, and has cover from snipers. |
| Museum | Truck Bed (Mid) | Dominates the open area, forces enemies into bad angles. |
Now, here’s where most players screw up: they don’t adapt. If the enemy keeps pushing through a lane, they’re either baiting you or running a set play. Instead of camping, reposition. Use the map’s flow—don’t fight it.
Pro tip: Track enemy spawns. If they’re always coming from one side, it’s likely a rotation. Cut them off at the pass. I’ve seen entire squads wiped because they ignored this.
Bottom line? Map awareness isn’t about memorizing layouts—it’s about predicting movement. The best players don’t just shoot; they control the fight before it starts.
The Ultimate Guide to Optimizing Loadouts for Tactical Superiority*

Listen, I’ve been through enough loadout iterations in Modern Warfare 2 to know that half the players out there are running suboptimal setups. You don’t need 10 attachments to be effective—you just need the right ones. I’ve seen players dominate with a barebones MP5 and others flounder with a maxed-out Kilo. It’s not about the gun; it’s about how you build it.
Here’s the truth: your loadout should be a toolkit, not a flex. You’re not here to impress; you’re here to win. That means balancing lethality, handling, and adaptability. Below, I’ve broken down the essentials for each category.
- Muzzle: Compensator (for recoil) or Flash Guard (for stealth).
- Barrel: Longer barrels increase range but hurt mobility. Short barrels do the opposite.
- Optic: Red Dot Sight for close-quarters, Variable Zoom Scope for mid-range.
- Underbarrel: Commando Foregrip for recoil, or Merc Foregrip if you’re running a shotgun.
- Ammo: Extended Mags are only worth it if you’re using a high-RPM weapon.
Now, let’s talk about secondary weapons. Too many players treat them as afterthoughts. A well-chosen secondary can turn a 1v1 in your favor. If you’re running a sniper, pair it with a shotgun. If you’re using an SMG, bring a pistol with a high fire rate. And for the love of God, don’t bring another sniper as your secondary—you’re not a one-trick pony.
| Primary | Recommended Secondary |
|---|---|
| Sniper Rifle | Shotgun or SMG |
| Assault Rifle | Pistol or LMG |
| SMG | Pistol or Shotgun |
Perks are where most players go wrong. They pick based on what sounds cool, not what actually works. Ghost is overrated unless you’re running a stealth build. Fast Hands is a must if you’re swapping weapons often. And if you’re not using EOD, you’re asking to get one-shot by a grenade.
- Tier 1: EOD (anti-grenade), Fast Hands (reload speed), or Ghost (stealth).
- Tier 2: Amped (faster weapon swap), High Alert (enemy visibility), or Hardline (extra points).
- Tier 3: Amped (if not taken in Tier 2), Dead Silence (stealth), or Tracker (enemy footprints).
And let’s not forget equipment. Stun grenades are underused but devastating in close-quarters. Semtex is great for area denial. Smoke grenades? Only useful if you’re running a stealth build. Pick what fits your playstyle, not what’s trending.
At the end of the day, your loadout should feel like an extension of your playstyle. If you’re struggling, don’t just blame your gear—blame your aim. But if your aim’s solid and you’re still losing, maybe it’s time to tweak that setup.
X Advanced Strategies That Separate Good Players from Elite Operators*

I’ve seen thousands of players try to crack the code of Modern Warfare 2, but only a handful ever break into the elite tier. The difference? Advanced strategies that turn good players into operators who dominate every engagement. These aren’t just tips—they’re battle-tested tactics that separate the pack.
First, let’s talk about movement and positioning. Most players sprint straight into gunfights, but the pros use tactical sprinting: short bursts of speed followed by cover. I’ve seen players like Hecz (OpTic Gaming) use this to reposition mid-fight, forcing enemies to reset their aim. Here’s a quick breakdown:
| Movement Type | When to Use | Effectiveness |
|---|---|---|
| Tactical Sprint | Mid-fight repositioning | High (forces enemy to re-aim) |
| Slide Cancel | Close-quarters engagements | Very High (reduces exposure) |
| Crouch-Sprint | Long-range engagements | Moderate (reduces recoil) |
Next, loadout optimization isn’t just about attachments—it’s about synergy. A full-auto AR with a 60-round mag might sound great, but in my experience, a 40-round mag with faster reloads wins more fights. Here’s a pro loadout I’ve used:
- Primary:M4 (Monolithic Suppressor, 50-round mag, Commando Foregrip, Tac Laser, Stippled Grip)
- Secondary:X16 (Merc Suppressor, 12-round mag, Tac Laser, Stippled Grip)
- Perks: Fast Hands, High Alert, Ghost
And don’t sleep on map control. The best players don’t just fight—they dictate where the fight happens. On Al Mazrah, holding the Factory high ground gives you sightlines to three lanes. Here’s a quick map control cheat sheet:
- Hold high ground (elevated positions win fights)
- Cut off rotations (use SMGs to deny lanes)
- Use killstreaks strategically (UAVs > Precision Airstrikes)
Finally, mental game matters. The pros don’t tilt. They reset after every death. They track enemy patterns. They adapt. If you’re not doing these things, you’re not elite.
Mastering tactical combat in Modern Warfare 2 demands precision, adaptability, and a deep understanding of the game’s mechanics. Whether you’re dominating in multiplayer or executing flawless missions in the campaign, the key lies in movement, positioning, and teamwork. Learn to use cover effectively, anticipate enemy movements, and leverage your loadout to its fullest. Communication with teammates can turn the tide in objective-based modes, while reflexes and map awareness are critical in free-for-all matches.
For a final tip: Always keep an eye on your minimap—it’s your best friend for tracking enemy positions and avoiding ambushes. As the meta evolves with updates and new strategies, the game will continue to challenge even the most skilled players. So, keep refining your skills, stay ahead of the curve, and ask yourself: What’s the next level of mastery you’ll unlock?


